York University enables the Office 365 encryption capabilities that allow the users to share protected email with anyone on any device. The encryption option is supported by both Outlook on the web, as well as the Outlook applications on both Windows and macOS.
There are various features available:
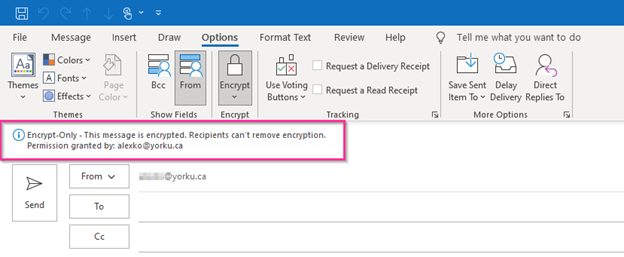
- Send securely encrypted email to anyone (Encrypt-Only)
- This message is encrypted. The recipients can’t remove encryption.
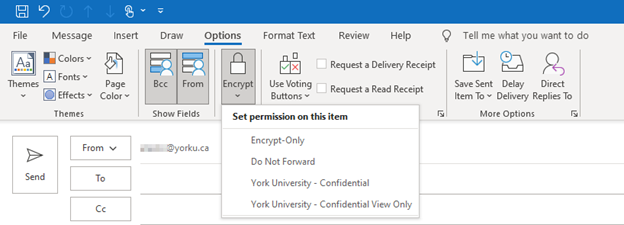
- Prevent them from Forwarding the email (Do Not Forward)
- Recipients can read this message, but cannot forward, print, or copy content. The conversation owner has full permission to their message and all replies.
- Restrict access to only people with York University accounts (York University - Confidential)
- This content is proprietary information intended for internal users only. This content can be modified but cannot be copied or printed.
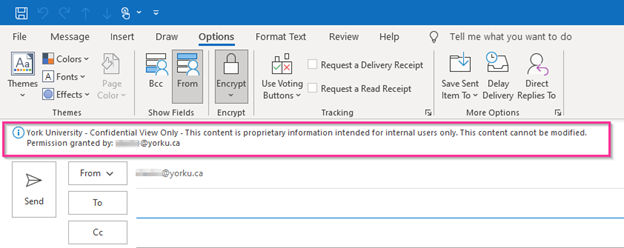
- Further restrict access to 'View Only' to people with York University accounts. (York University – Confidential View Only)
- This content is proprietary information intended for internal users only. This content cannot be modified.
Messages sent as ‘York University - Confidential' can be sent to any email address, but to view them the recipient will be required to authenticate with their York University credentials.
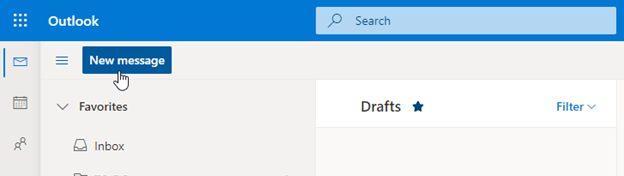
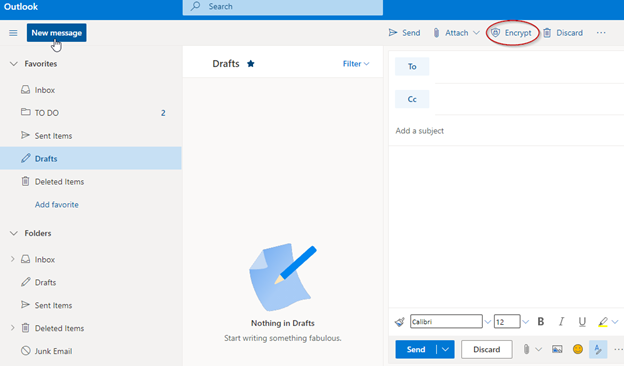
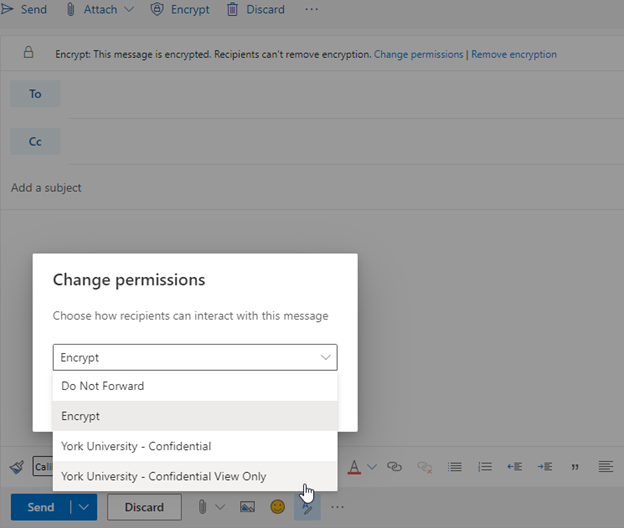
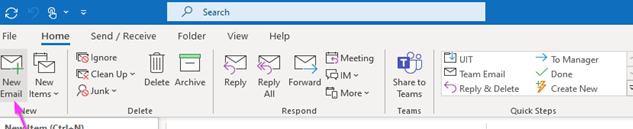
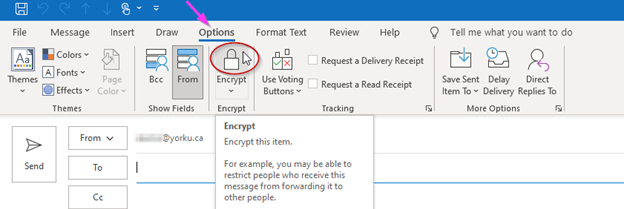
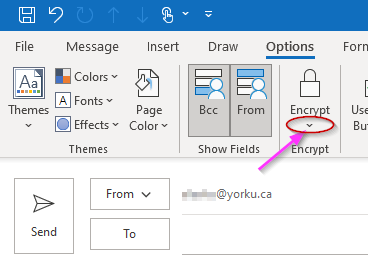
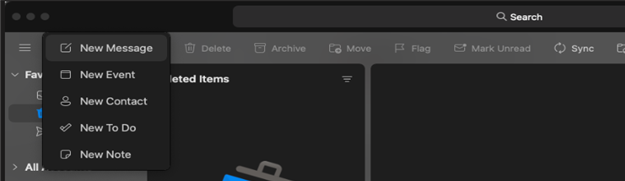
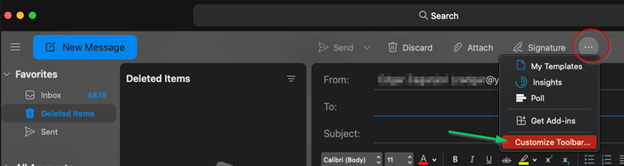
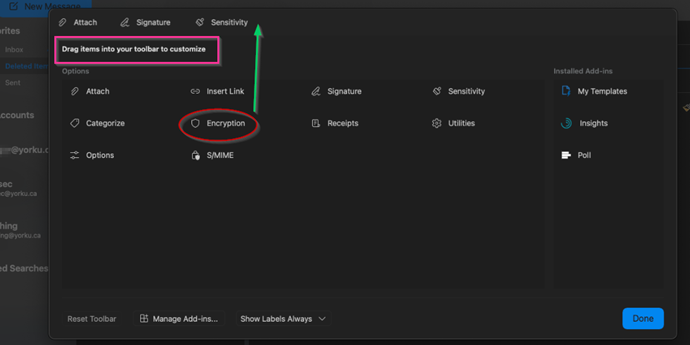
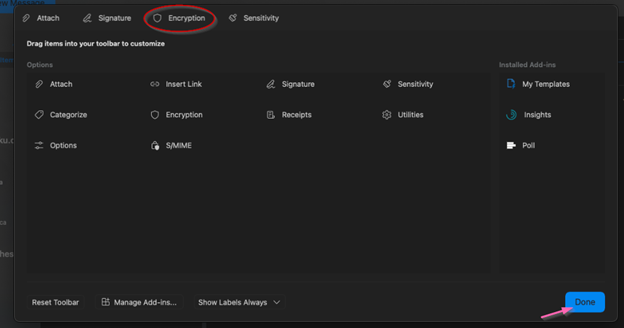
Step 1 – Once signed-in to Outlook Web application with YorkU account, Click “New Message”: Step 2 – In the New message window, Click the Encrypt icon: Step 3 – A message will notify the user that ‘This message is encrypted’, like the image below: Step 4 – If a more restrictive Encryption is required, after Clicking the Encrypt button, select “Change permissions”: Step 5 – Change permissions window will pop-up, Select the desired Encryption option: Step 1 – Click “New Email”: Step 2 – In the New Email window, go to “Options”, Click the Encrypt icon: Step 3 – The message will then look like the image below: Step 4 – If a more restrictive Encryption is required, in the New Email window, go to “Options”, Click the down arrow under the Encrypt icon: Step 5 – This expands more options for different levels of Encryption: Step 6 – Select the desired Encryption option. Depending on the selected option, a message will pop-up, like the image below: Step 1 – Click “New Message”: Step 2 – In the New message window, Click on the Encryption icon and select the desired Encryption option: NOTE: If the Encryption icon is not visible on your Toolbar after clicking “New Message”, follow the instructions from Step 3 to Step 5 first. Step 3 – In the New message window, Click on the 3 horizontal buttons and Select “Customize Toolbar”: Step 4 – In the Customize Toolbar window, Drag and Drop the Encryption icon into the Toolbar: Step 5 – Now that the Encryption icon has been added to the Toolbar, Click “Done” and go back to Step 2: